Dashboard overview
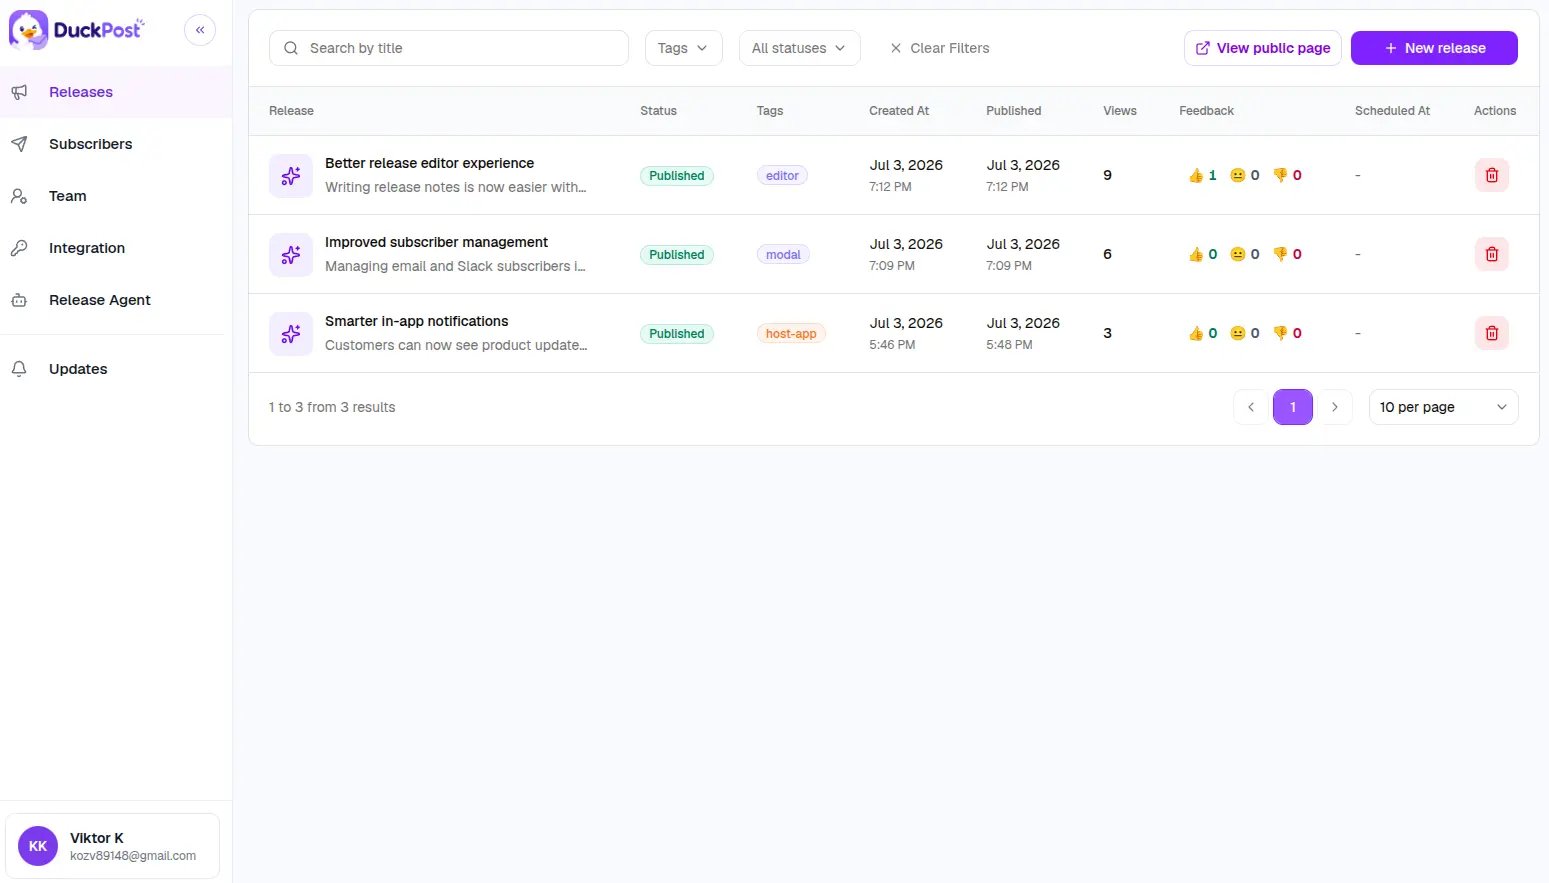
Use the left navigation to move between the main product areas:| Page | What you do there |
|---|---|
| Releases | Create, edit, schedule, publish, and review release performance. |
| Subscribers | Manage email and Slack audiences for release notifications. |
| Team | Invite teammates, revoke invites, and manage member access. |
| Integration | Copy the widget snippet, change your public changelog slug, and manage the widget allowlist. |
| Release Agent | Connect GitHub, manage the action key, and review automation jobs. |
| Profile settings | Update your name, password, organization name, and MFA settings. |
Publish your first release
Open Releases
Open duckpost.app/releases and click New release.
Fill in the release
Add:
- A title between 3 and 100 characters
- A summary between 10 and 240 characters
- Rich text content
- An optional cover image in
PNG,JPG, orWebPup to5 MB - Optional tags and a release type
Decide whether to notify subscribers
Turn on subscriber notifications if you want DuckPost to send the release to confirmed email subscribers and connected Slack channels when it goes live.
What happens after you publish
After your first published release is live, you can:- Open Integration and copy your public changelog URL
- Install the widget snippet in your app
- Invite customers to subscribe by email or Slack from the public page
- Return to Releases to review views and reactions
<your-org-id> with the organization ID shown in Integration.
Next steps
- 🚀 Read what is DuckPost for the full product model
- 📝 Read releases overview for statuses, types, tags, and analytics
- 🔌 Read public page and widget to configure sharing
- 🔔 Read subscribers to understand email and Slack delivery